Have you been intimidated by breadmaking? Put those fears aside! This incredibly easy artisan bread recipe requires no kneading, minimal ingredients, and creates a bakery-quality loaf every time. This is the perfect bread recipe for beginners.
[feast_advanced_jump_to]Ingredients
This bread only uses 4 ingredients - talk about simple! This is a much more natural recipe than what you will find available at the store. You will not find any preservatives or added chemicals in this recipe.
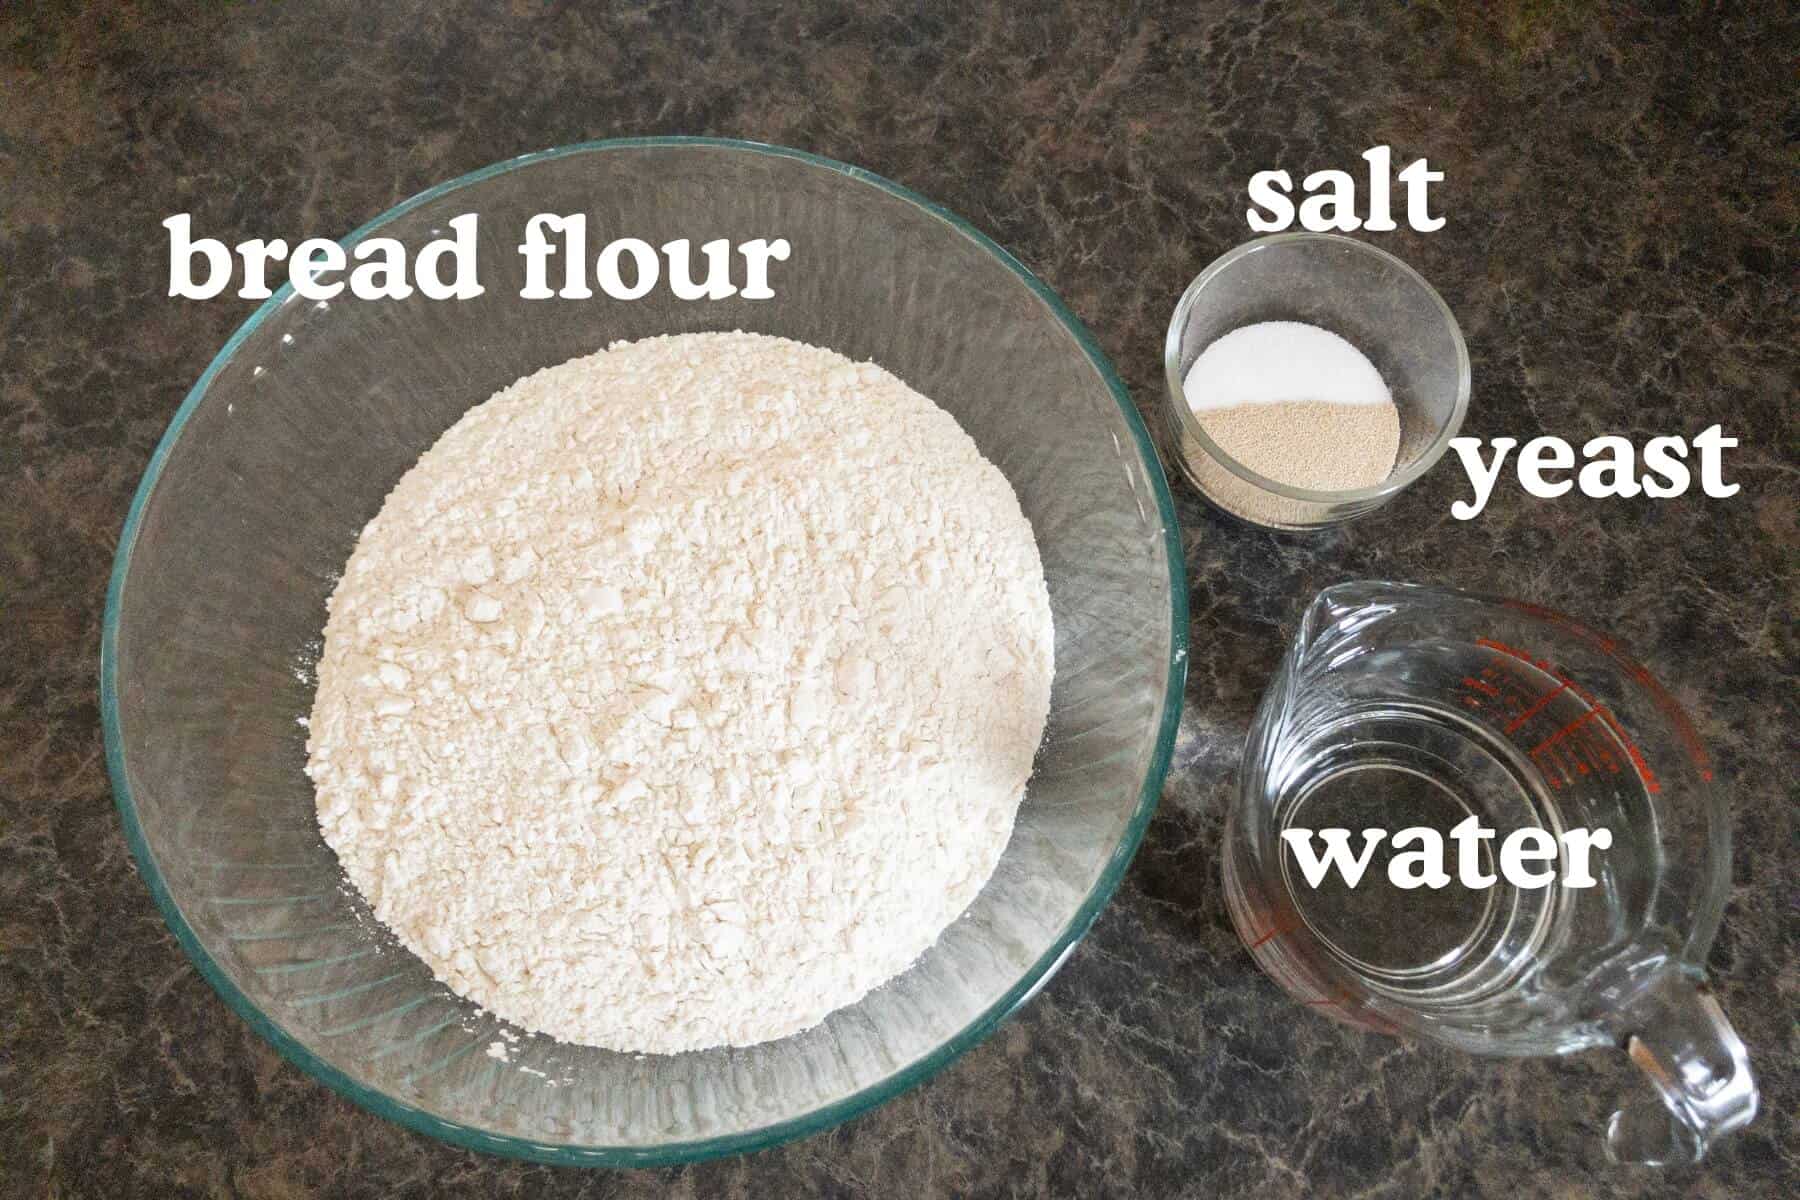
- Bread flour
- Instant Yeast
- Table Salt
- Water
Instructions
1. Mix Your Dough (5 Minutes)
Combine the bread flour, instant yeast, and salt in a large bowl. Pour in the warm water and stir with a wooden spoon or spatula until completely incorporated. The dough will look shaggy and sticky – that’s perfect! Make sure no dry flour remains on the sides or bottom of the bowl. If needed, add additional water one tablespoon at a time.
Pro Tip: Use water that’s warm to the touch but not hot. Too hot water can kill the yeast!
2. Let It Rise (2.5 Hours)
Cover your bowl with plastic wrap or a clean kitchen towel. Place it in a warm area of your kitchen away from drafts. Let the dough rise for 2.5 hours. During this time, the yeast will work its magic, creating air pockets and developing flavor.
Pro Tip: The ideal temperature for rising dough is between 75-85°F. Near your oven or on top of your refrigerator often works well. If your house is cool in the winter, warm your oven for 5 minutes and then turn it off to create a perfect place to stick your dough to rise. Just don’t forget to take it out before you preheat your oven later on!
3. Preheat Your Dutch Oven (10-15 Minutes)
When your dough is done rising, preheat your oven to 450°F (232°C). Place your Dutch oven with the lid on inside the preheating oven. Let both preheat together until the oven has reached 450°F
Pro Tip: A properly preheated Dutch oven creates that beautiful crispy crust by trapping steam during baking.
4. Shape Your Dough
While your Dutch oven preheats, lightly flour your hands and a work surface. Gently shape the dough into a round boule (ball) without kneading or overworking it. Place it on a piece of parchment paper large enough to lift the dough with.
Pro Tip: Handle the dough gently to preserve the air bubbles that have formed during rising.
5. Bake Covered (30 Minutes)
Carefully remove the hot Dutch oven from your oven (use good oven mitts!). Lower your dough on the parchment paper into the Dutch oven. Cover with the lid and return it to the oven. Bake for 30 minutes.
6. Bake Uncovered (10 Minutes)
Remove the lid and continue baking for another 10 minutes, or until the crust is a beautiful golden brown.
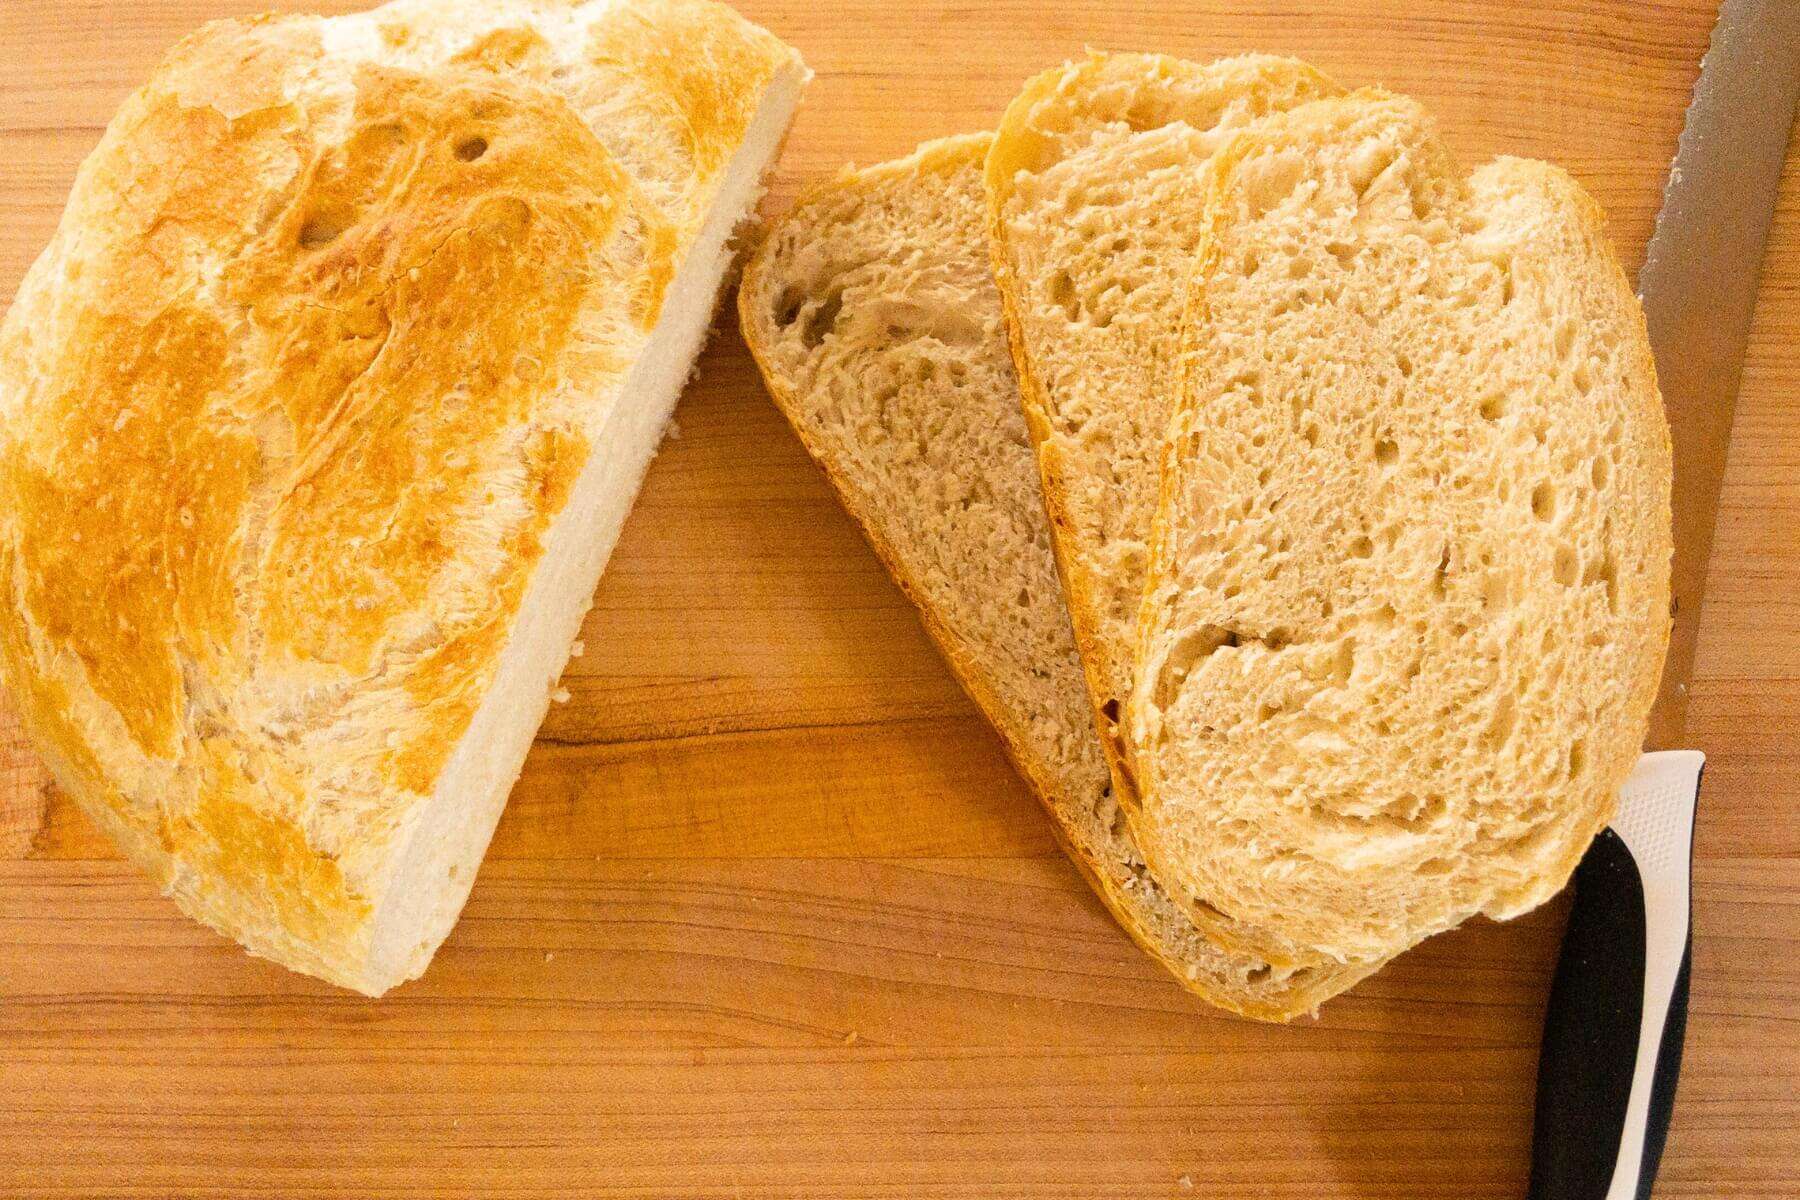
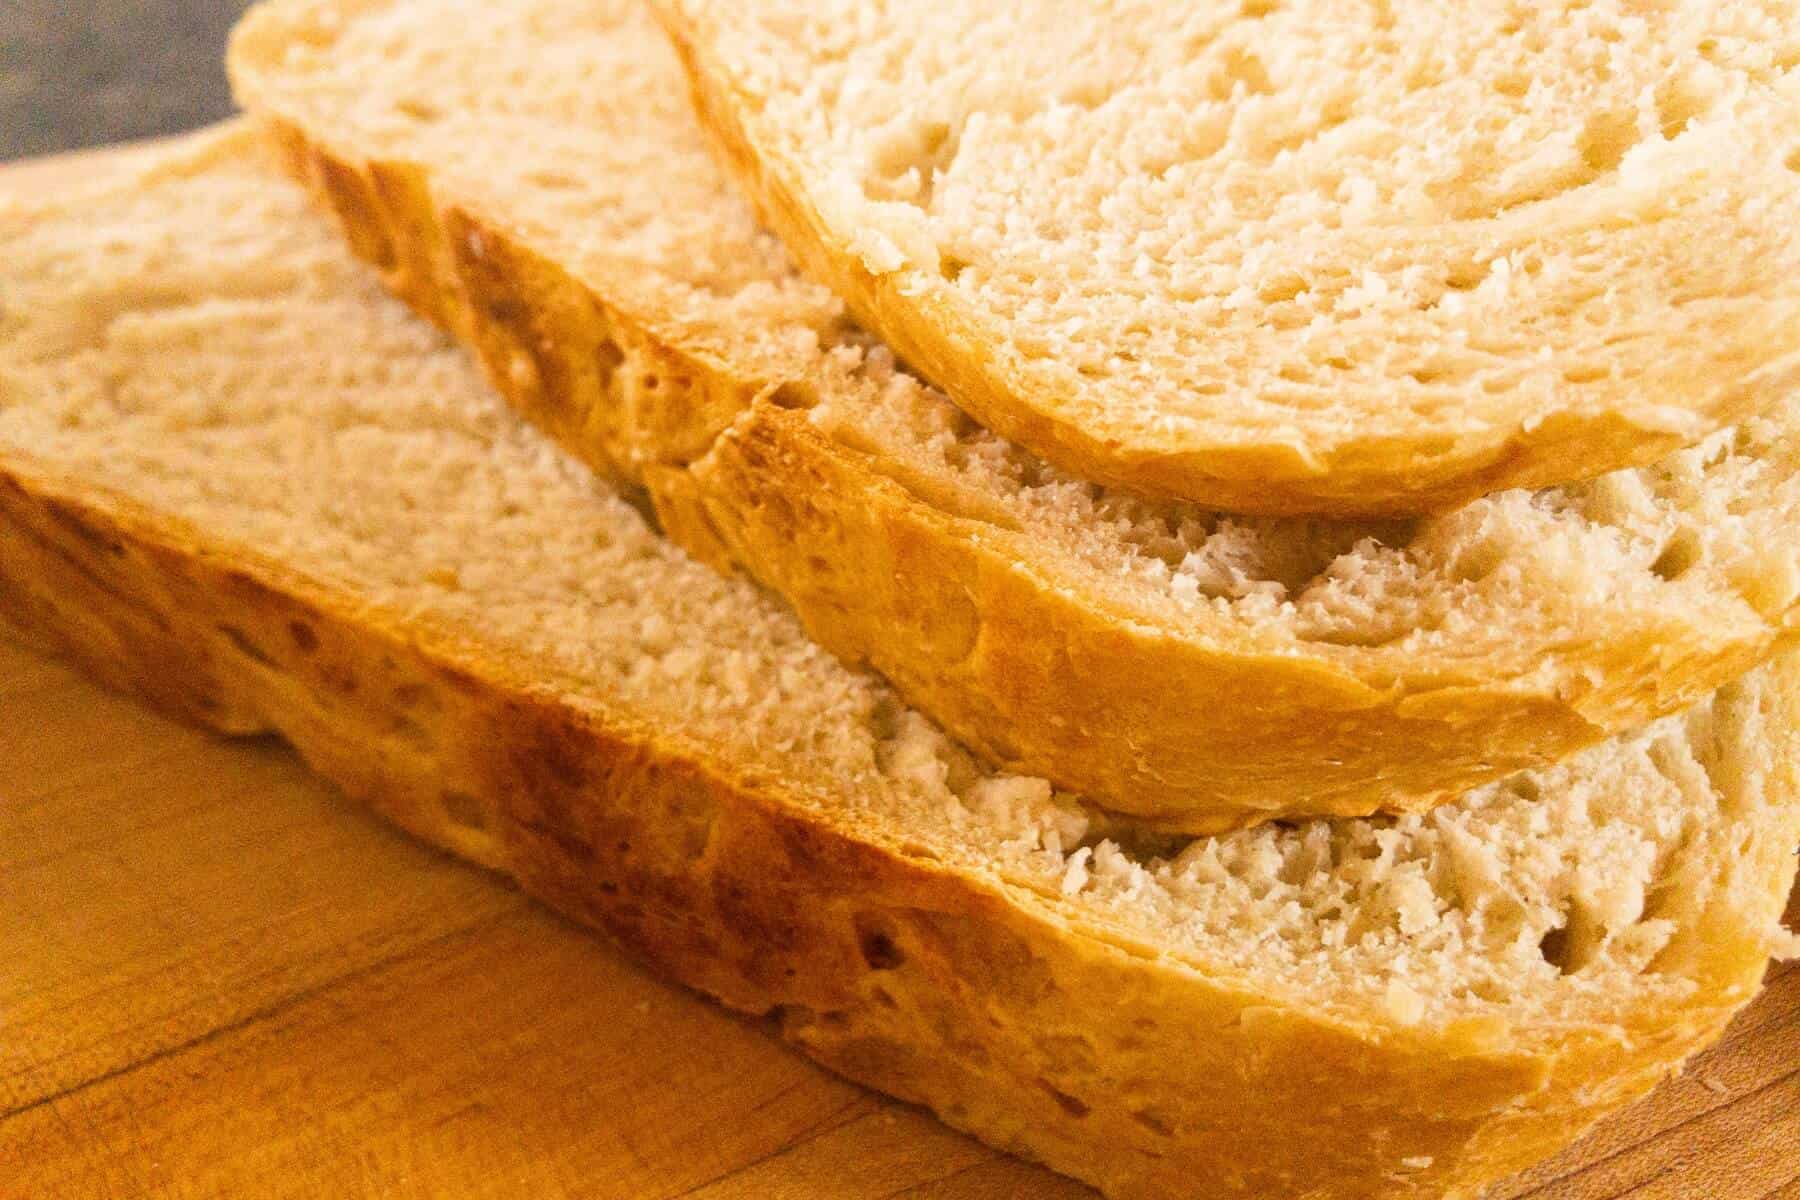
7. Cool and Enjoy
Carefully lift the bread out using the parchment paper and place it on a wire rack to cool for at least 30 minutes before slicing. This cooling period allows the interior to finish cooking and set properly.
Variations
Although this artisan bread recipe is delicious as is, you may crave some additional flavors in certain situations. Add the following combinations to your dough after the 2-hour and 30-minute rising period. This will require mixing/kneading to incorporate the ingredients fully into the dough, but it is definitely worth it!
- Cranberry and Walnut
- Jalapeno Cheddar
- Rosemary and Roasted Garlic
- Kalamata Olives and Feta Cheese
- Sundried Tomato and Basil
Equipment Needed
- Large mixing bowl
- Dutch oven with lid
- Parchment paper
- Measuring cups and spoons
Storage
Your homemade bread will stay fresh at room temperature in a paper bag or bread box for 2-3 days. A gallon-sized Ziploc bag also works, but it may not fit your entire loaf. In this case, I suggest slicing it and splitting the slices into 2 or 3 bags.
For longer storage, slice the cooled bread and freeze it in a freezer-safe bag for up to 3 months. Toast slices straight from frozen when ready to enjoy.
Top Tip
Turn your oven on for 2-3 minutes to use as a warm place to let your dough rise! This is the best way to ensure your dough rises completely... especially in the winter.
FAQ
Yes, but your bread may not rise quite as high. Bread flour has more protein, which creates more gluten and a better structure.
With this recipe, yes! When buying flour, yeast, and salt in bulk at Sam's Club, my total cost per loaf comes to a whopping 76 cents (plus electricity and/or gas for the oven).
Yes! Dissolve it in the warm water for 5 minutes before adding to the dry ingredients.
Any oven-safe pot with a lid will work, or you can use a baking stone with a metal bowl placed over the dough as a makeshift lid.
Absolutely! This actually enhances flavor. Let it rise at room temperature for an hour, then refrigerate overnight. Let it come to room temperature before baking.
Pairing
These are my favorite dishes to use this artisan bread in:
- Strawberry Pecan Ricotta Toast
- Simple Breakfast Sandwich
- BLTs
- Grilled Cheese and Tomato Soup
Easy Artisan Bread Recipe
Ingredients
Equipment
Method
- Mix Your Dough (10 Minutes)Combine the bread flour, instant yeast, and salt in a large bowl. Pour in the warm water and stir with a wooden spoon or spatula until completely incorporated. The dough will look shaggy and sticky – that's perfect! Make sure no dry flour remains on the sides or bottom of the bowl. If needed, add additional water one tablespoon at a time.
- Let It Rise (2.5 Hours)Cover your bowl with plastic wrap or a clean kitchen towel. Place it in a warm area of your kitchen away from drafts. Let the dough rise for 2.5 hours. During this time, the yeast will work its magic, creating air pockets and developing flavor.
- Preheat Your Dutch Oven (10-15 Minutes)When your dough is done rising, preheat your oven to 450°F (232°C). Place your Dutch oven with the lid on inside the preheating oven. Let both preheat together for at least 10 minutes.
- Shape Your DoughWhile your Dutch oven preheats, lightly flour your hands and a work surface. Gently shape the dough into a round boule (ball) without kneading or overworking it. Place it on a piece of parchment paper large enough to lift the dough with.
- Bake Covered (30 Minutes)Carefully remove the hot Dutch oven from your oven (use good oven mitts!). Lower your dough on the parchment paper into the Dutch oven. Cover with the lid and return it to the oven. Bake for 30 minutes.
- Bake Uncovered (10 Minutes)Remove the lid and continue baking for another 10 minutes, or until the crust is a beautiful golden brown.
- Cool and EnjoyCarefully lift the bread out using the parchment paper and place it on a wire rack to cool for at least 30 minutes before slicing. This cooling period allows the interior to finish cooking and set properly.